WordPress is perhaps the most ubiquitous content management system on the internet. Even though It started as a simple blogging platform, over time it has evolved into somewhat of an all-purpose content management system. Thanks to its large community, it is still going strong.
Developed by the team behind WordPress itself, WooCommerce is the most complete e-commerce plugin for WordPress.
This is a step-by-step guide on how you can start an online store today using WordPress. The great thing about it is that you don’t have to be a coding ninja or design aficionado to do it. All you need is a computer and an internet connection.
1. How To Register A Domain Name On Cloudflare?
A domain name is a human-readable address for your site. We don’t need to go into the details of how the domain works in this tutorial. But it’s one of the most important things for a website. In this tutorial, we will register a domain and connect it to a hosting service.
There are many great services where you can register a domain, here are a few we like:-
But for this tutorial, we will use Cloudflare.
Log Into Cloudflare
Go to Cloudflare and click on the link that says Login.
Find The Domain
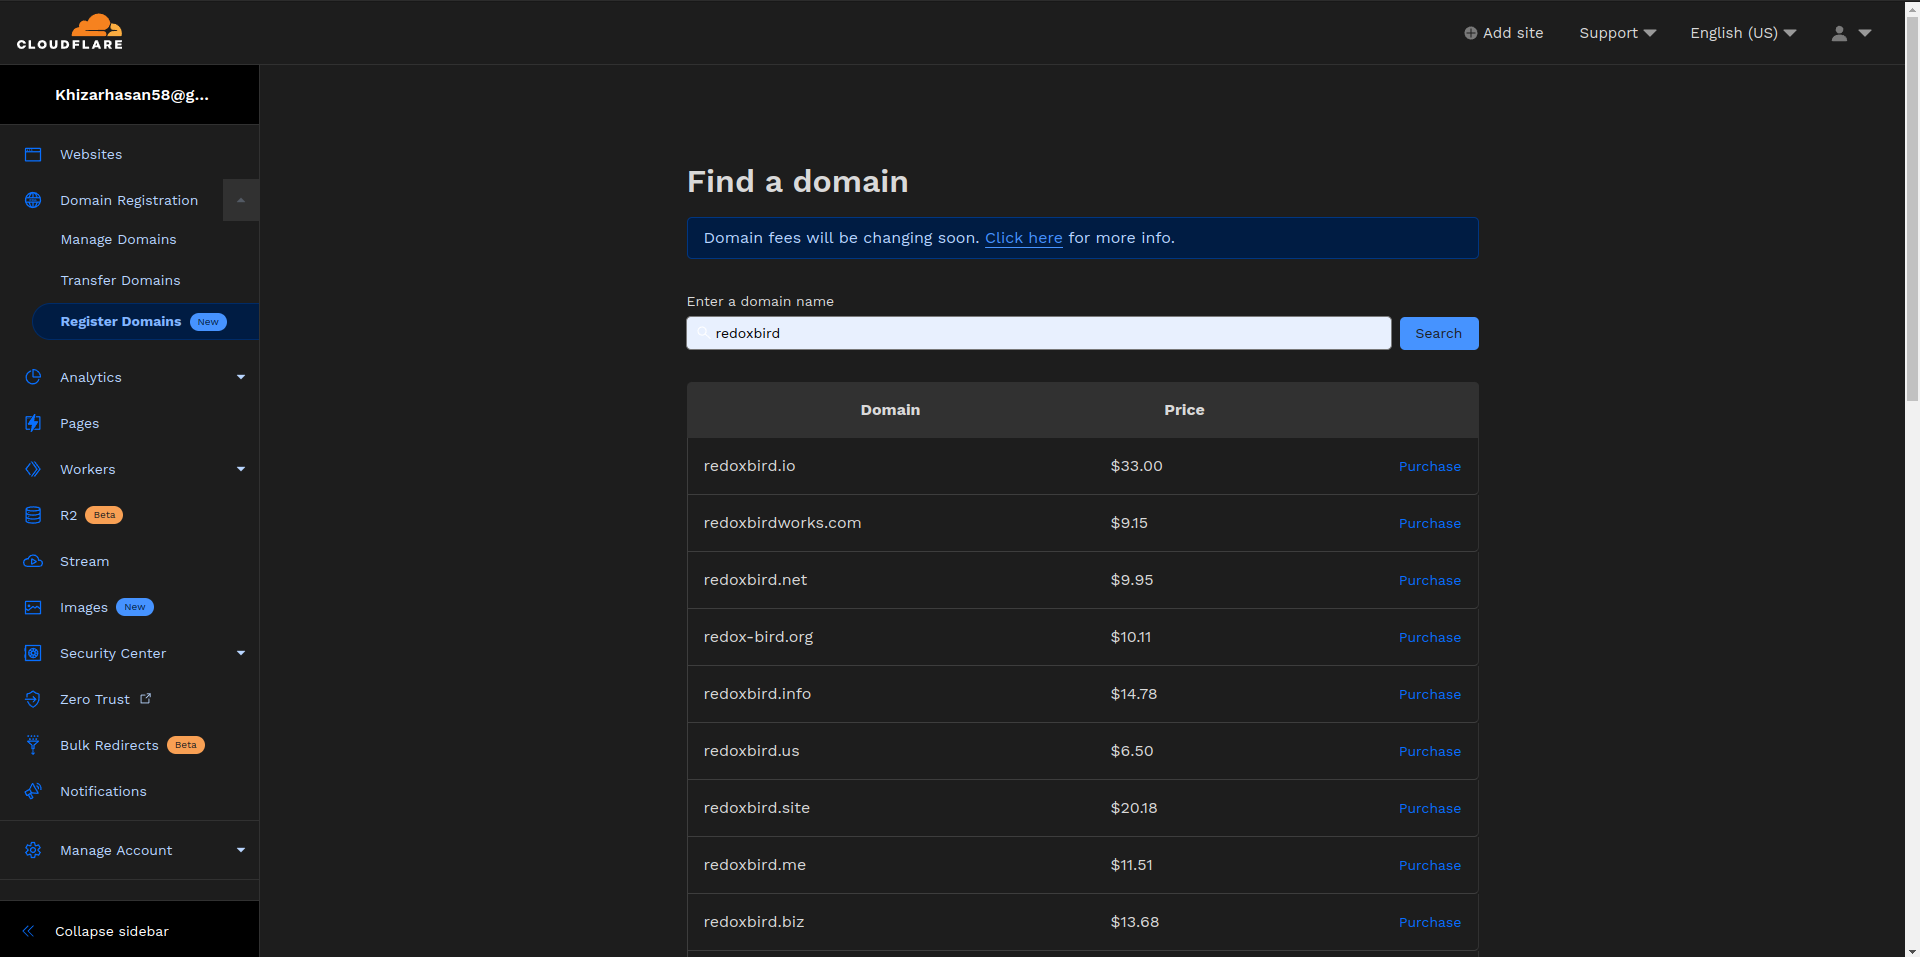
Once logged In. Search for the domain. Check if it’s available and hit the Purchase button.
Keep this open in the tab because we will come back to it later.
2. How To Set up EasyWP Hosting?
There are many great hosting providers out there who provide services for all kinds of websites, but for the sake of simplicity, we are going to use Managed WordPress hosting by EasyWP.
Log Into EasyWP
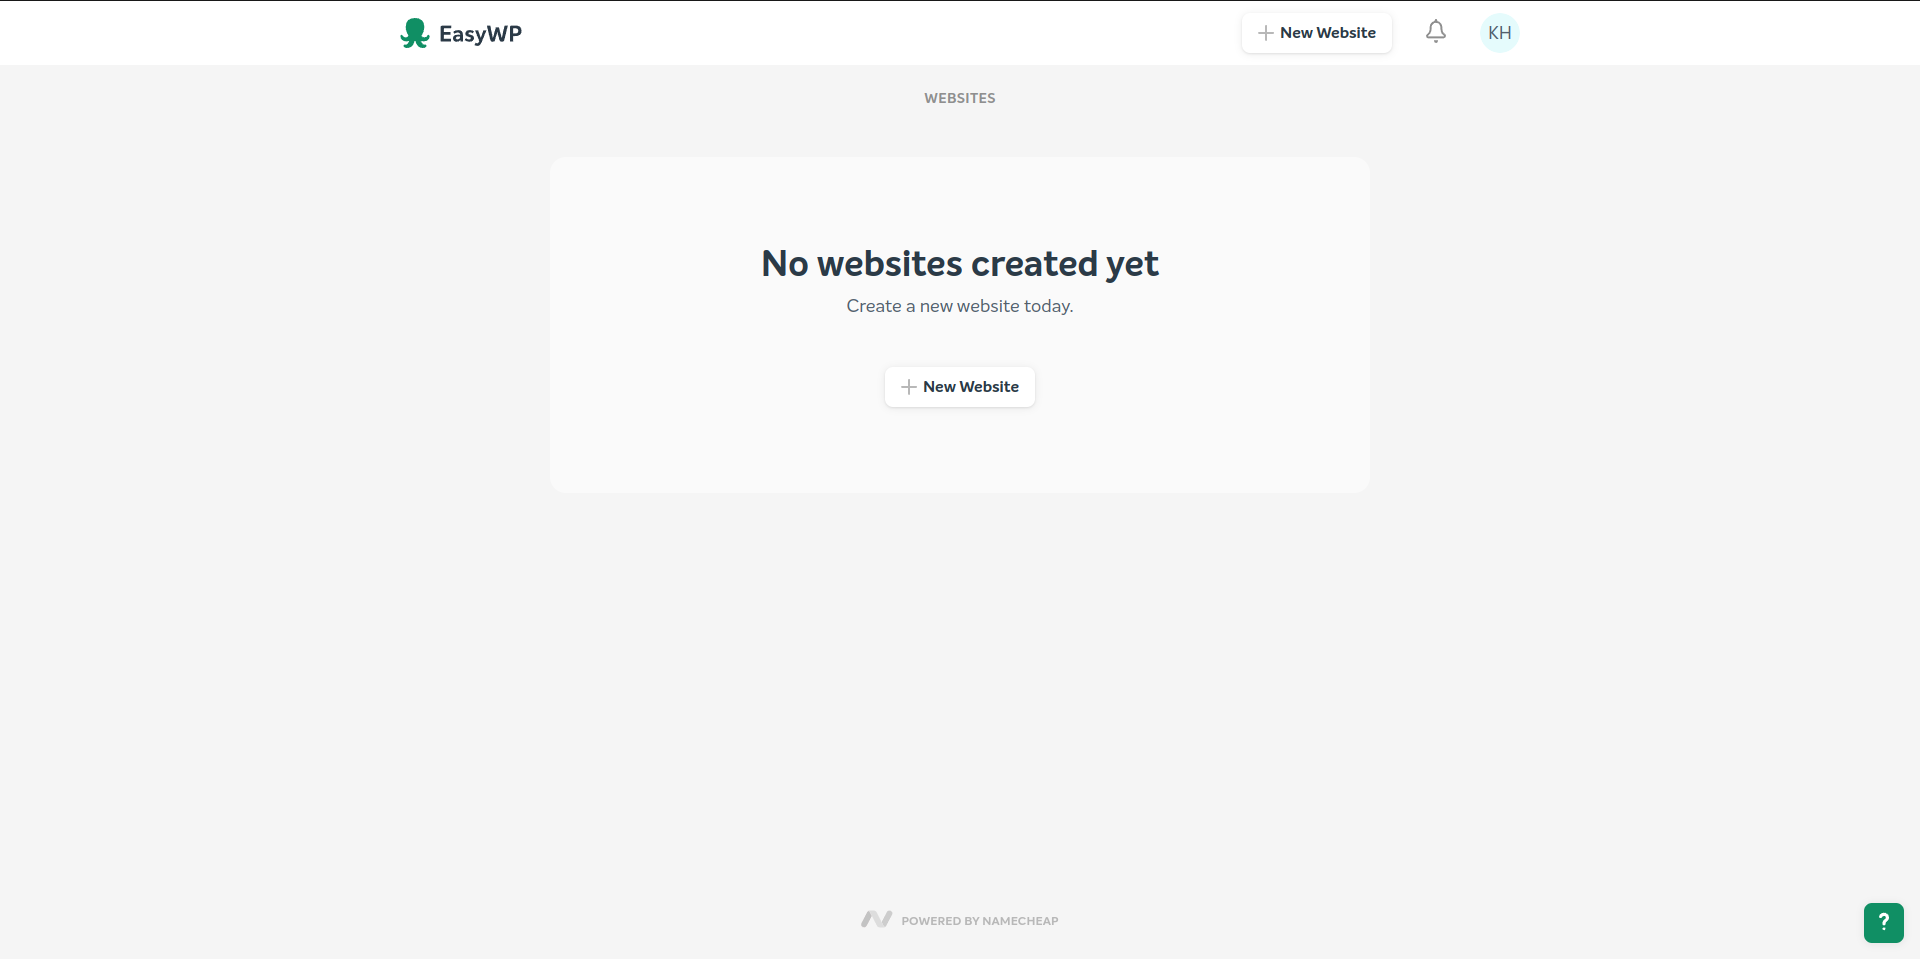
Once logged in, simply click on New Website and go through the setup wizard.
Once done. EasyWP will set up a site for you.
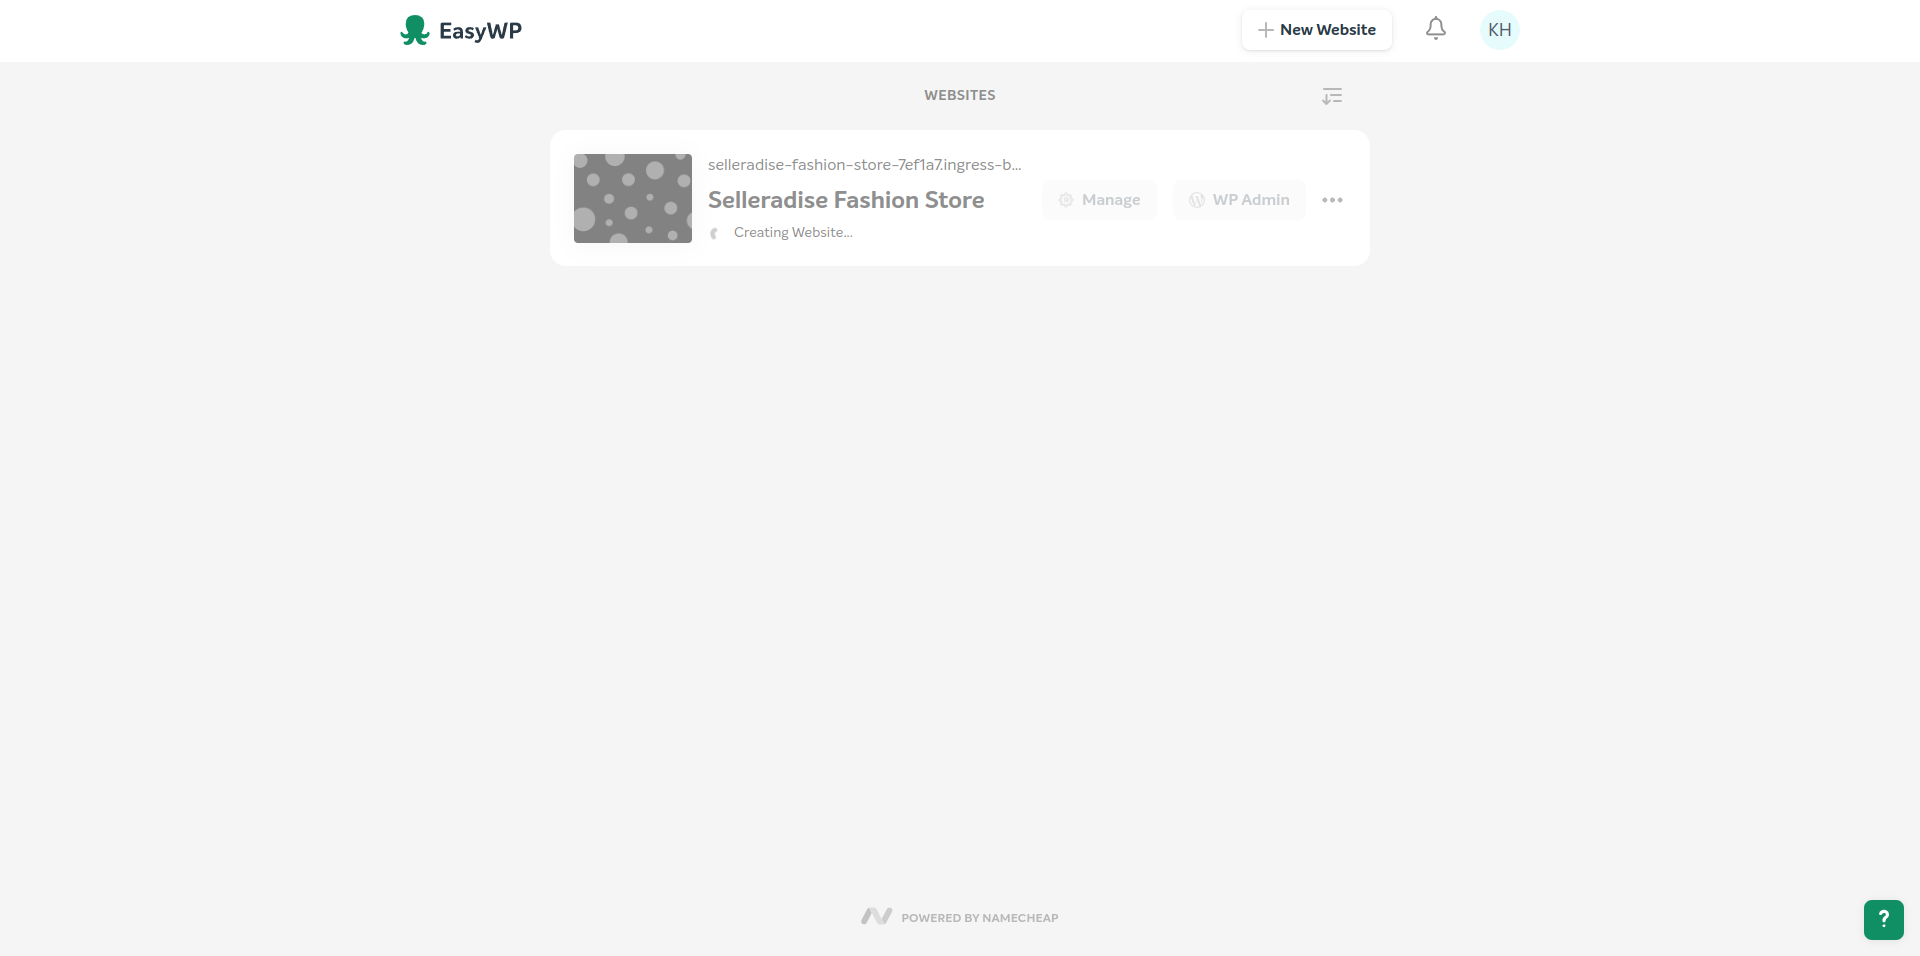
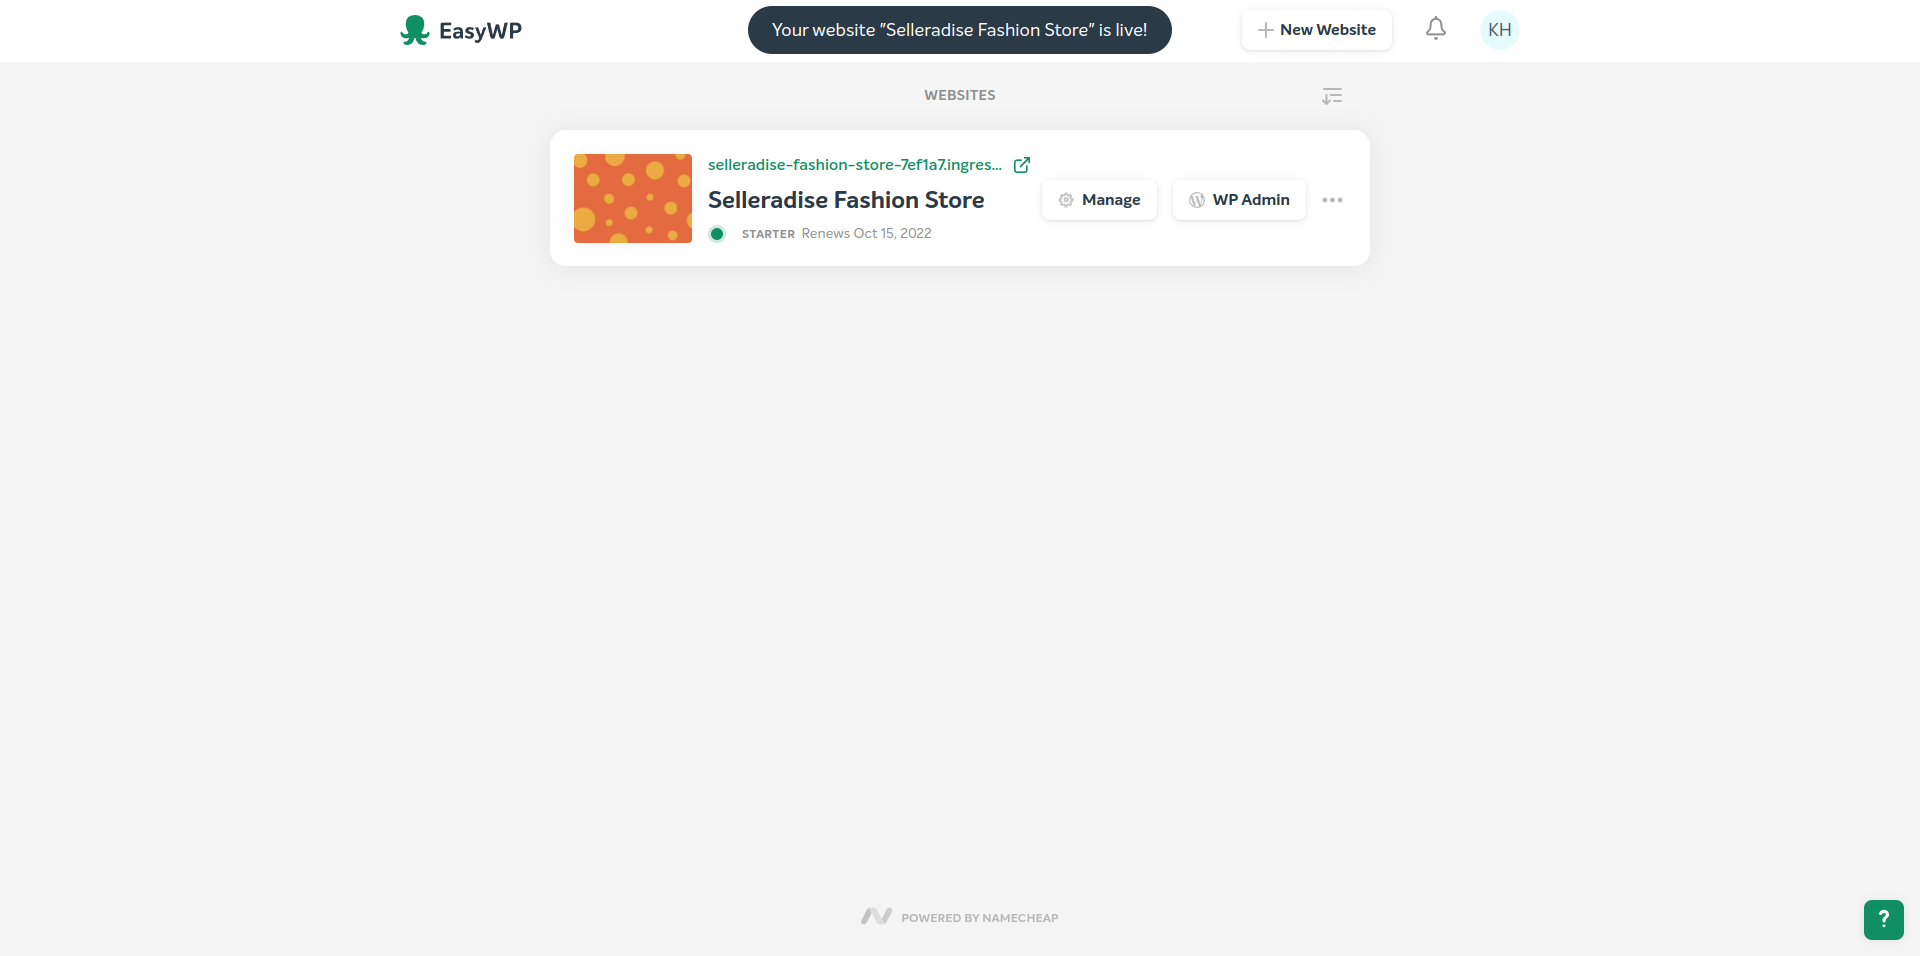
Once done. You should see a clickable link above the title. Click on that to make sure that the site is working.
Before we go any further, we will need to connect the domain name that we purchased from Cloudflare to our hosting provider, which is EasyWP.
3. How To Connect Cloudflare Domain Name With EasyWP Hosting?
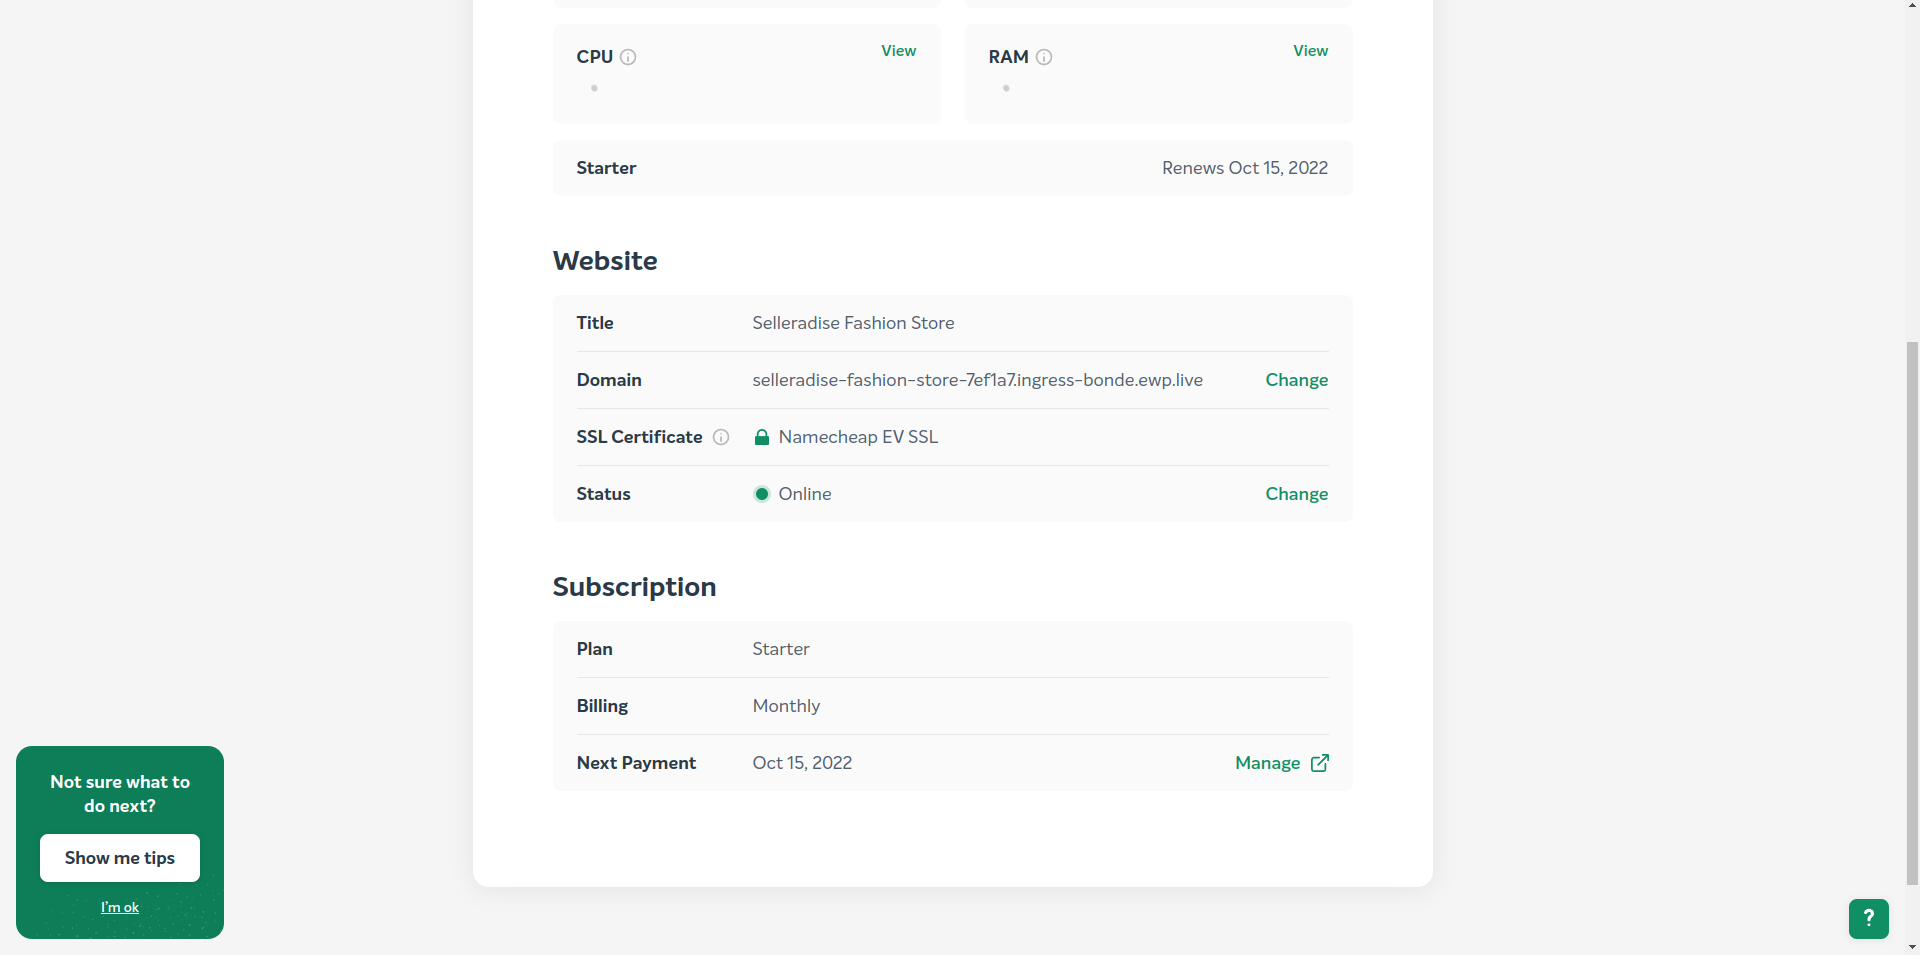
From the EasyWP dashboard, click on Manage.
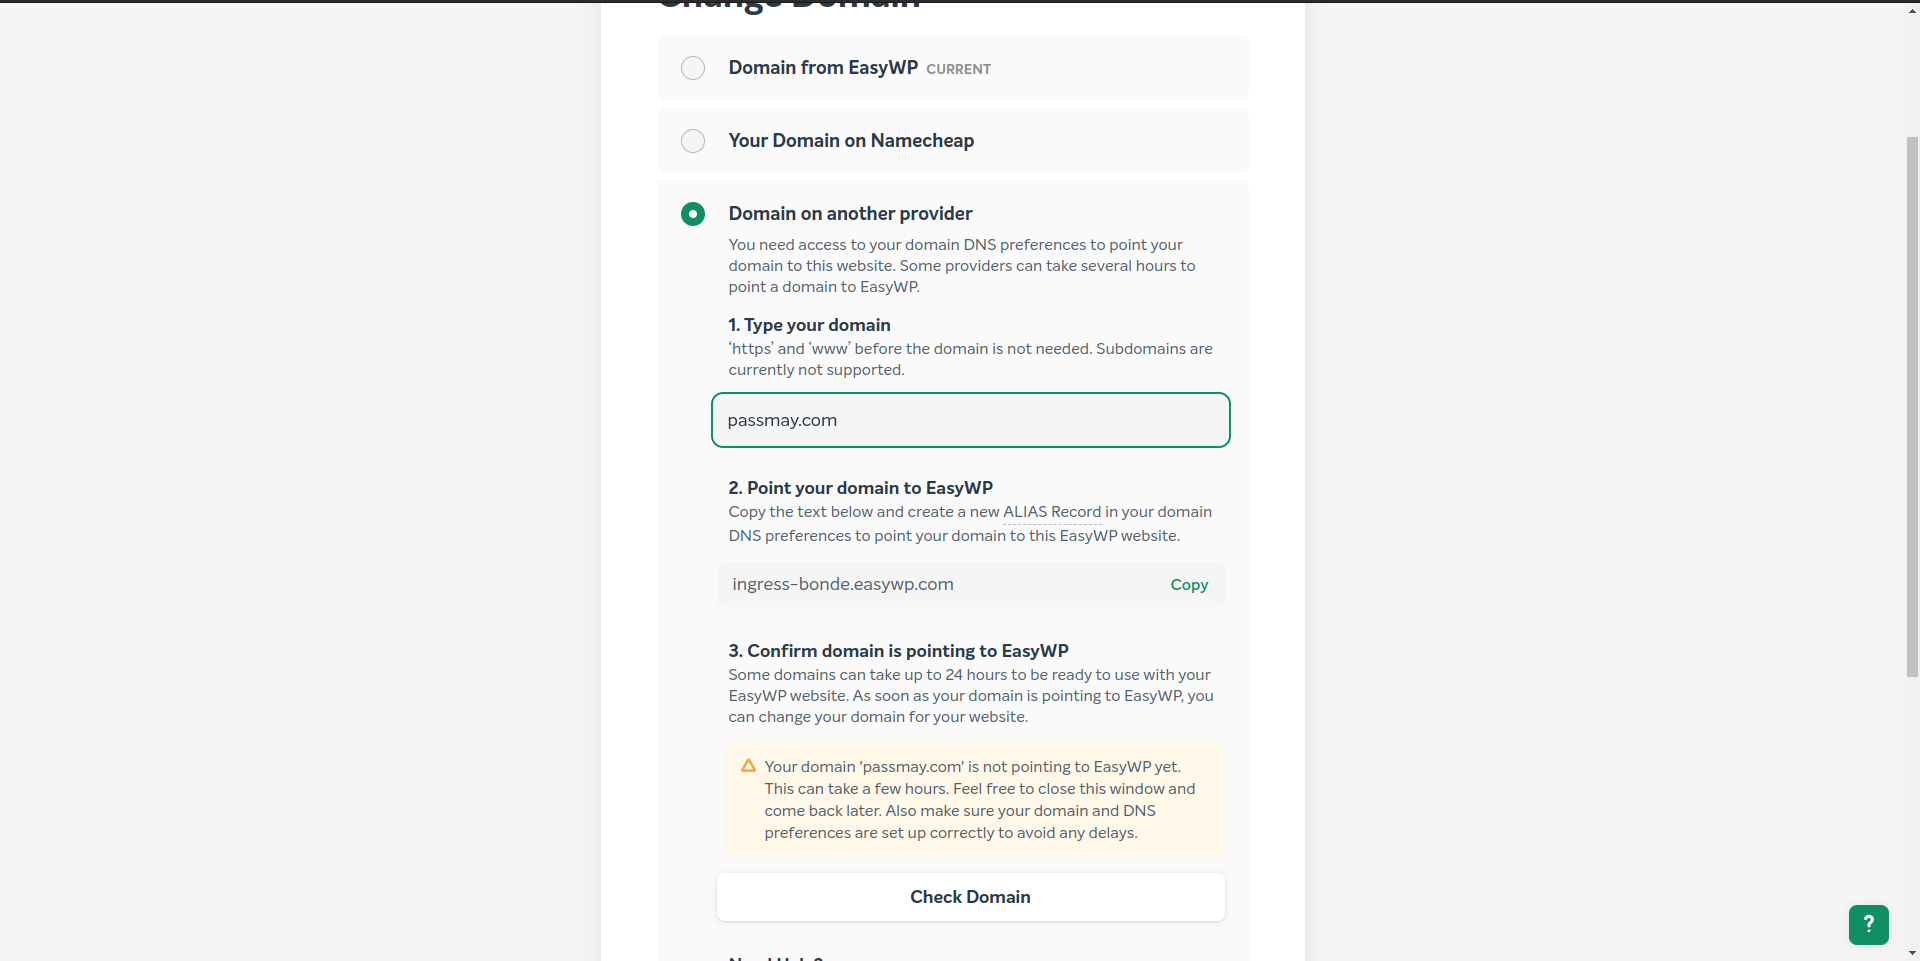
Scroll down, and you should see a default domain that EasyWP provided. Click on a link right next to it that says Change.
Go Back To Cloudflare
Click on the link in the sidebar called Websites. Then click on the domain name that you want to connect to EasyWP.
Once done, click on a link that says DNS Settings.
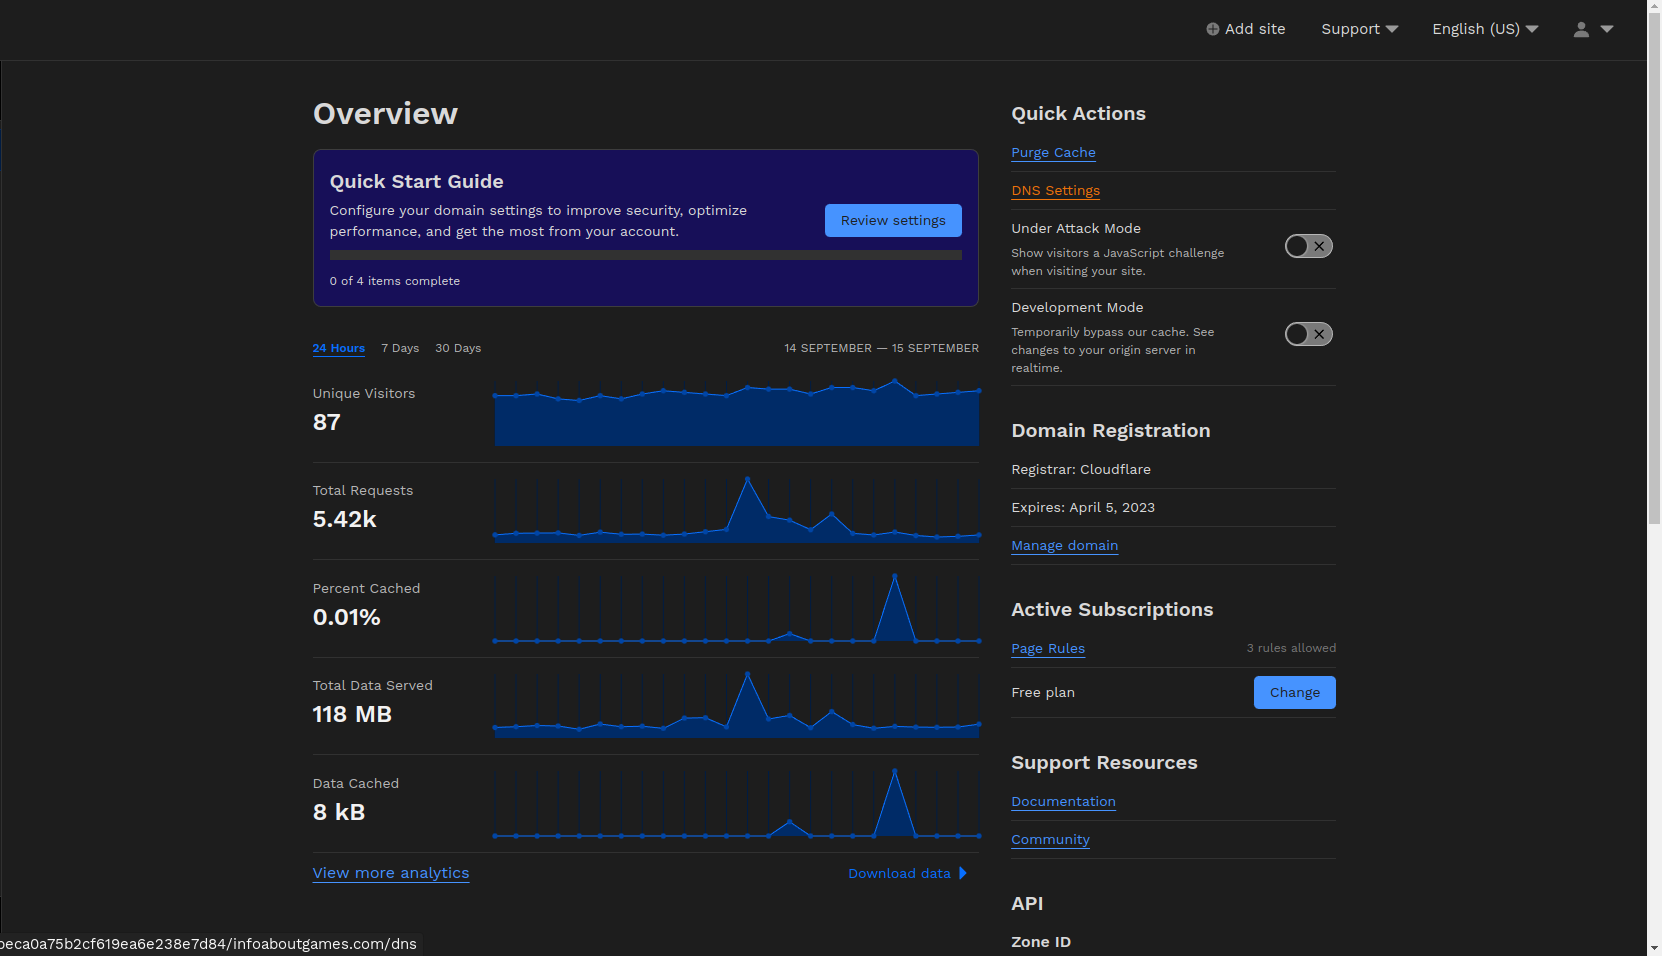
Now, you should see a button that says Add Record. All you have to do is add a new record with the following configuration.
- Type: CNAME
- Name: example.com (this should be your domain name)
- Content: ingress-bonde.easywp.com (or anything else provided by EasyWP)
- Proxy Status: DNS Only (once verified, change it back to Proxied to avoid SSL certificate error)
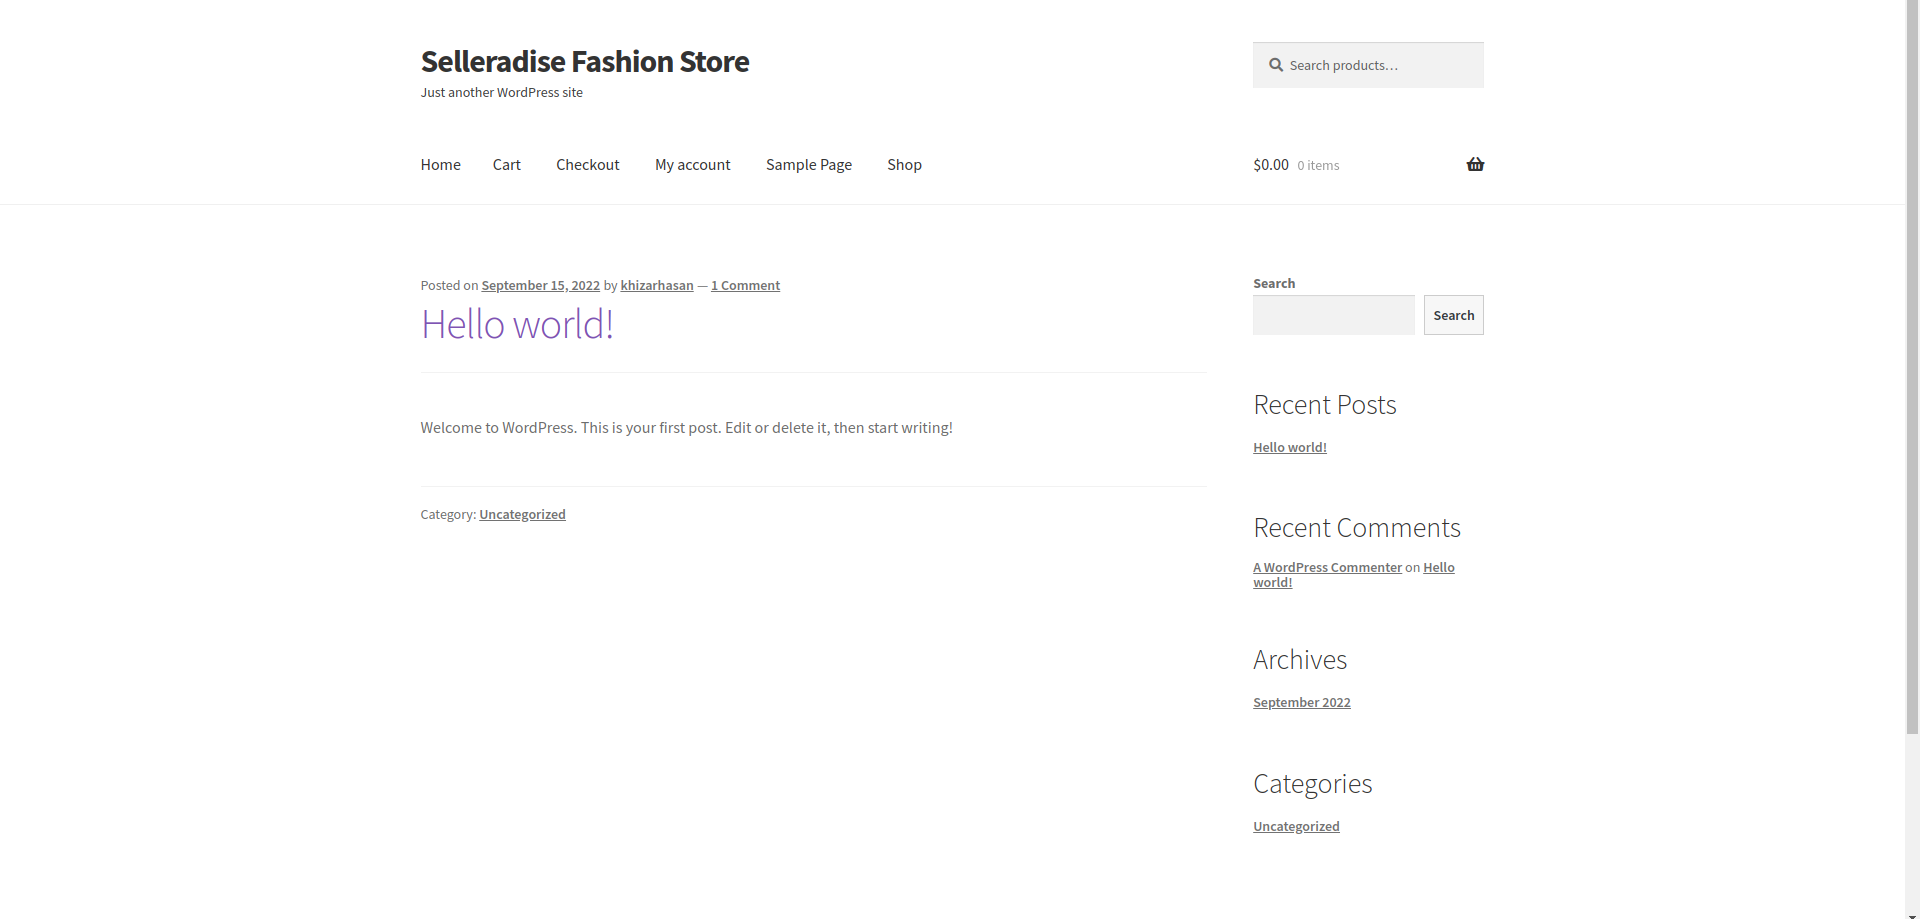
Now go to the site using the domain name that you just connected and make sure that the site is displaying something. It’s okay if it looks broken, it should get fixed in some time.

4. How To Configure Cloudflare SSL Certificate with EasyWP?
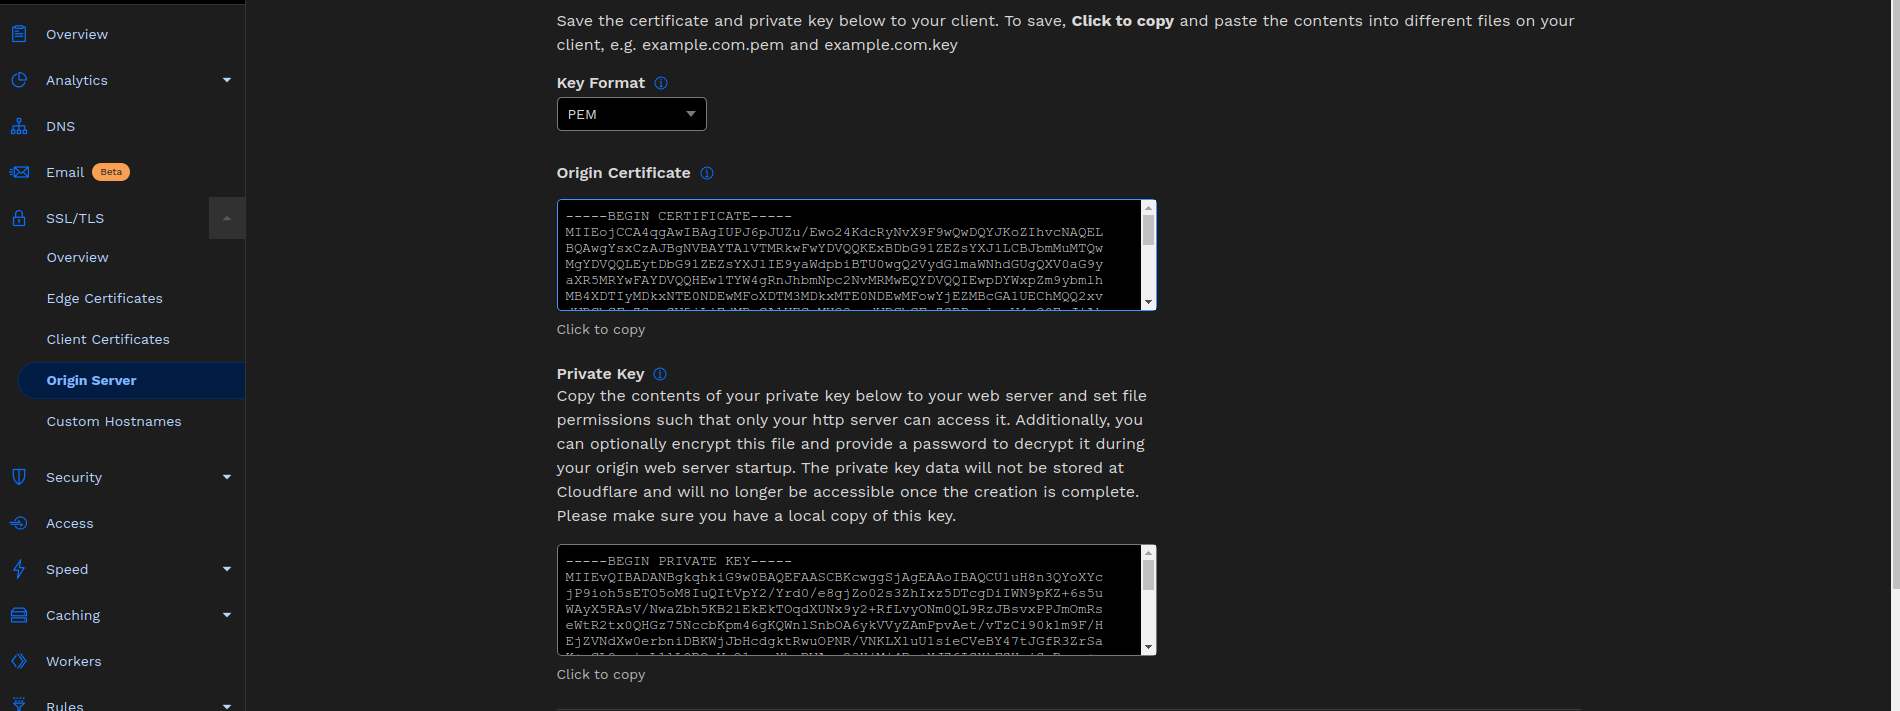
From the Cloudflare dashboard, go to your website and click on SSL/TLS > Origin Server. There should be a button that says Create Certificate. Click on that.
Once the certificate is created, copy both the Private Key and Origin Certificate.
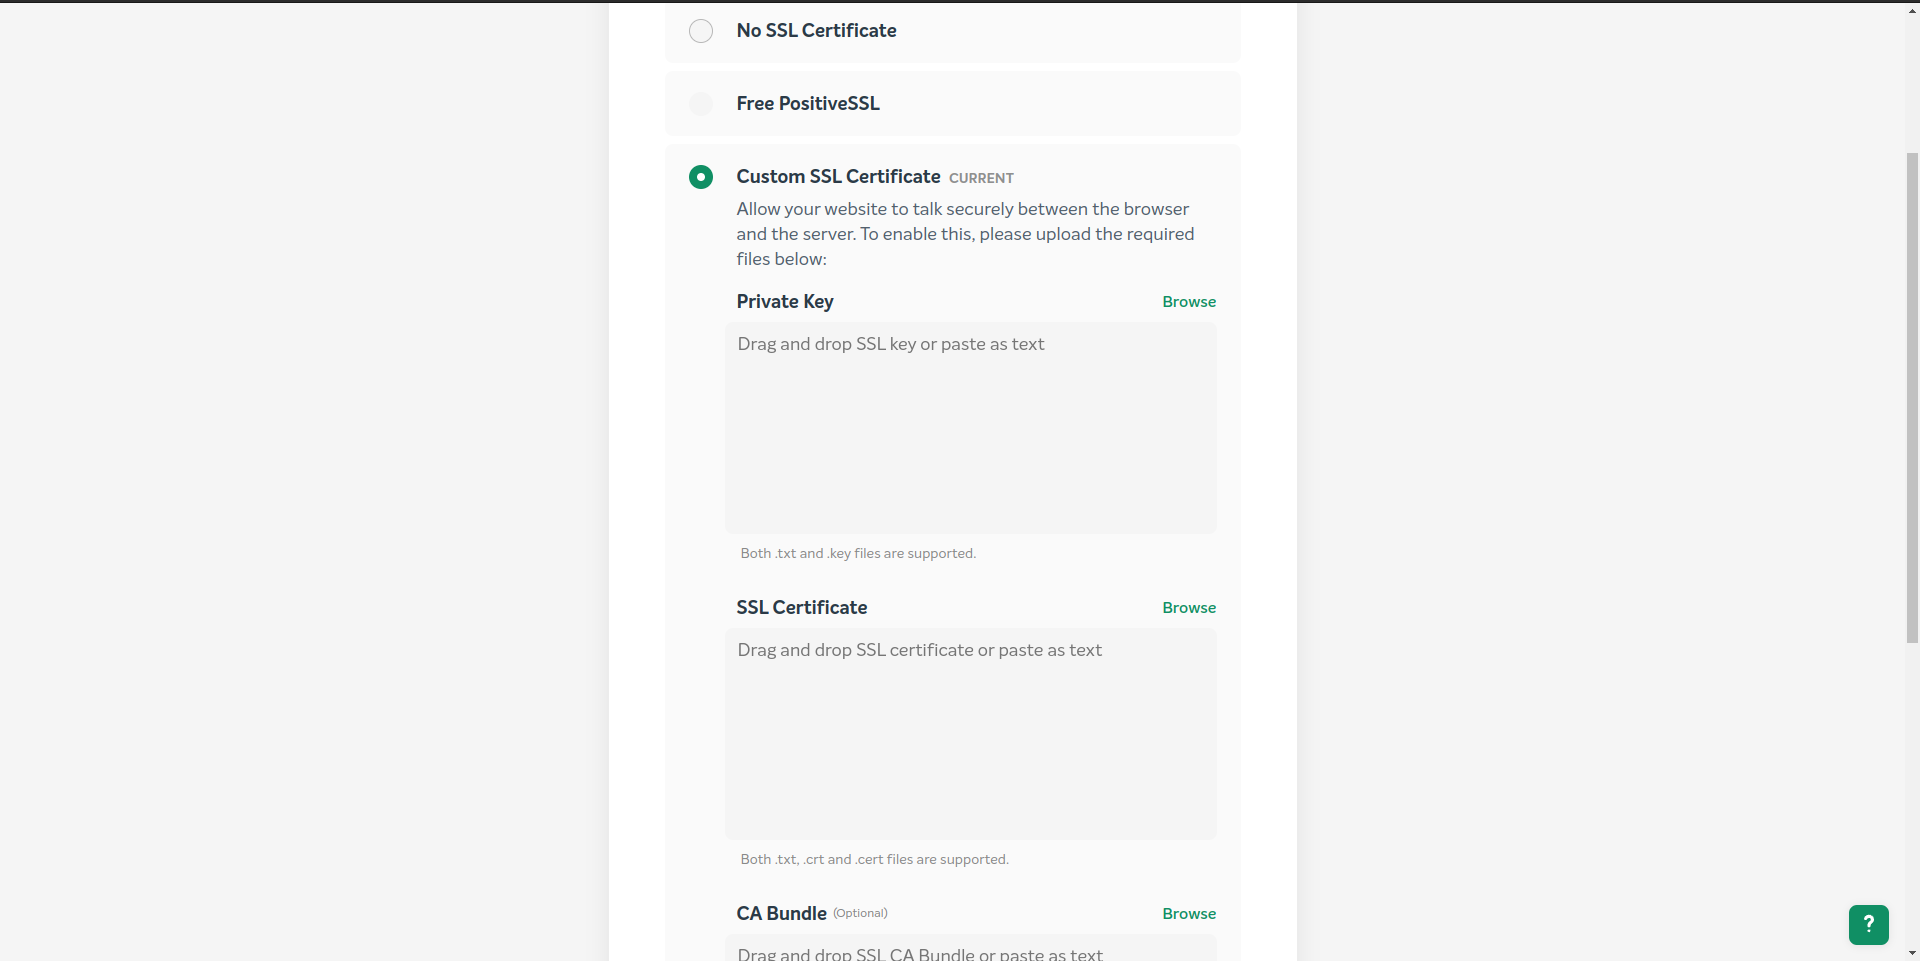
Once copied, we need to go back to the EasyWP dashboard and click on the link called Manage in the SSL Certificate row.

From there, we can simply change our SSL certificate and paste the SSL Certificate and Private Key that we copied earlier.
5. How to Set up WooCommerce?
If you check your site right now, it looks pretty basic. But worry not, we will install the theme and plugins that should add the most modern e-commerce functionalities to your site.
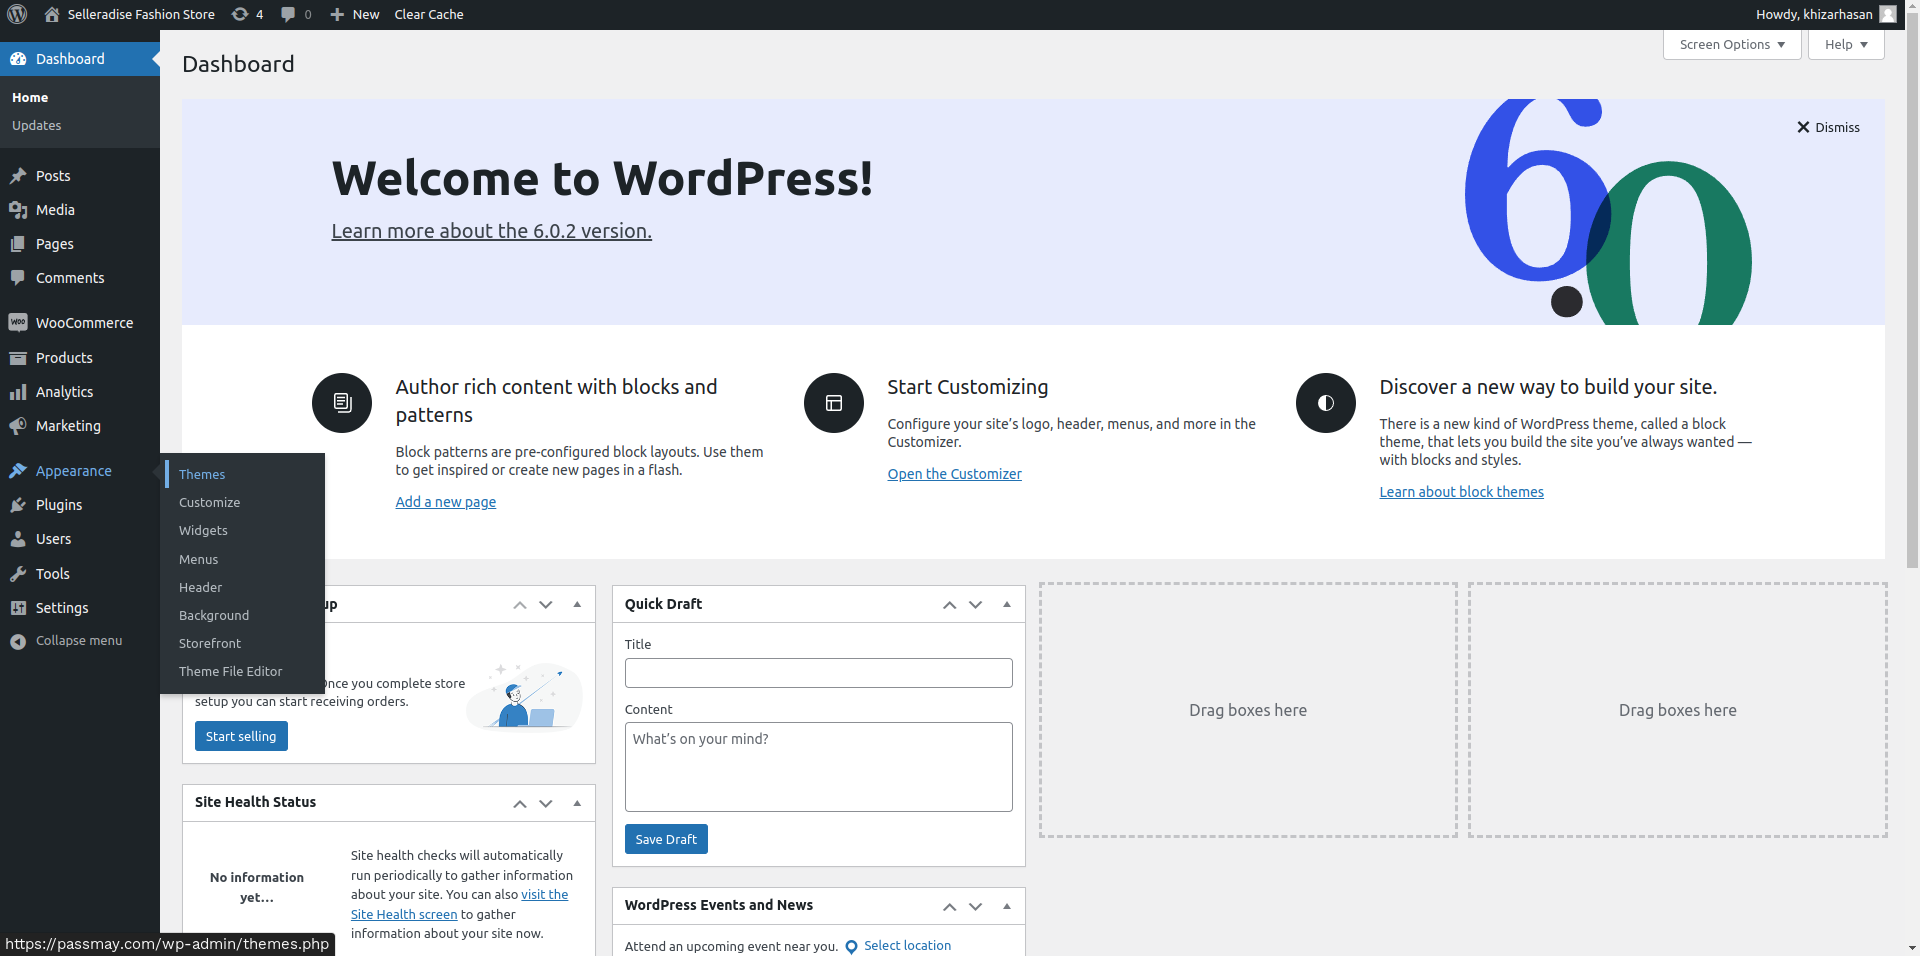
We need to go back to the EasyWP dashboard and click on the button that says WP Admin. This is where the fun part begins. Once you click on that, it should take you to WordPress’s dashboard.
Install The Theme
From the WordPress dashboard, go to Appearance > Themes.
Click on the button that says Add New in the upper-left corner.
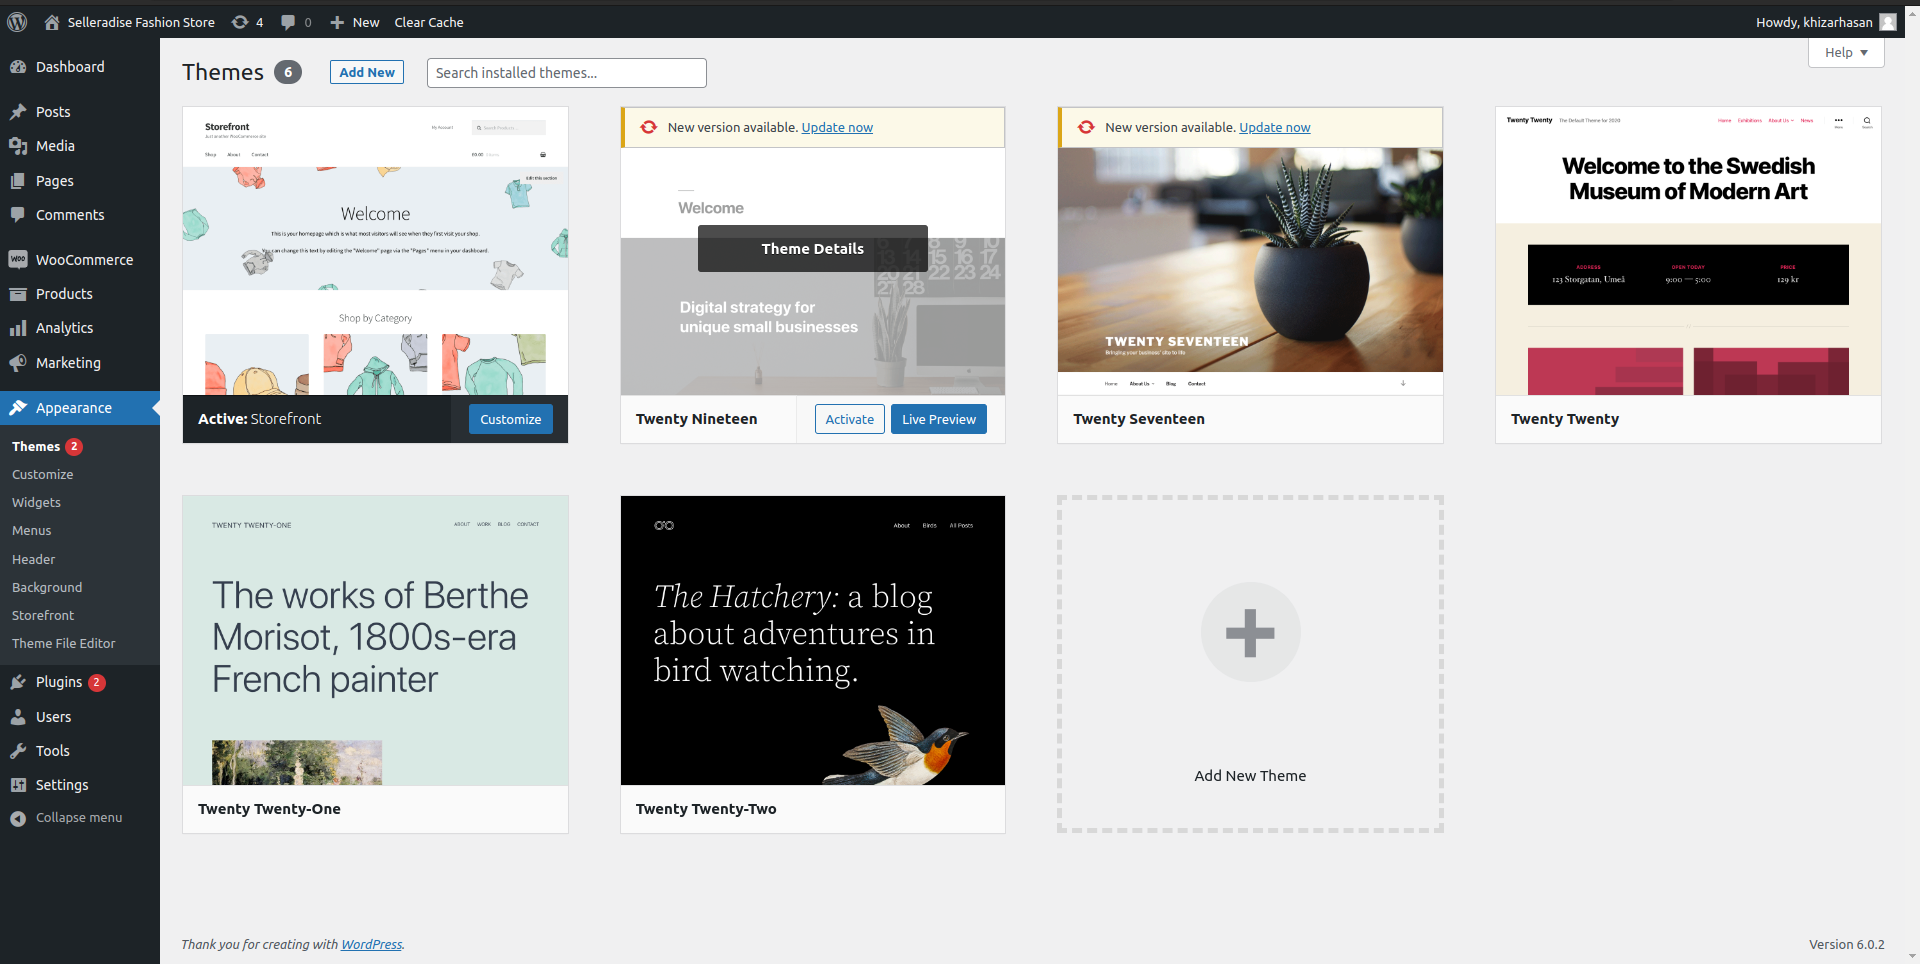
There are thousands of themes to choose from. But today we are going to use Selleradise. This theme provides the perfect balance of performance and feature set.
Simply search for the theme and click on install.
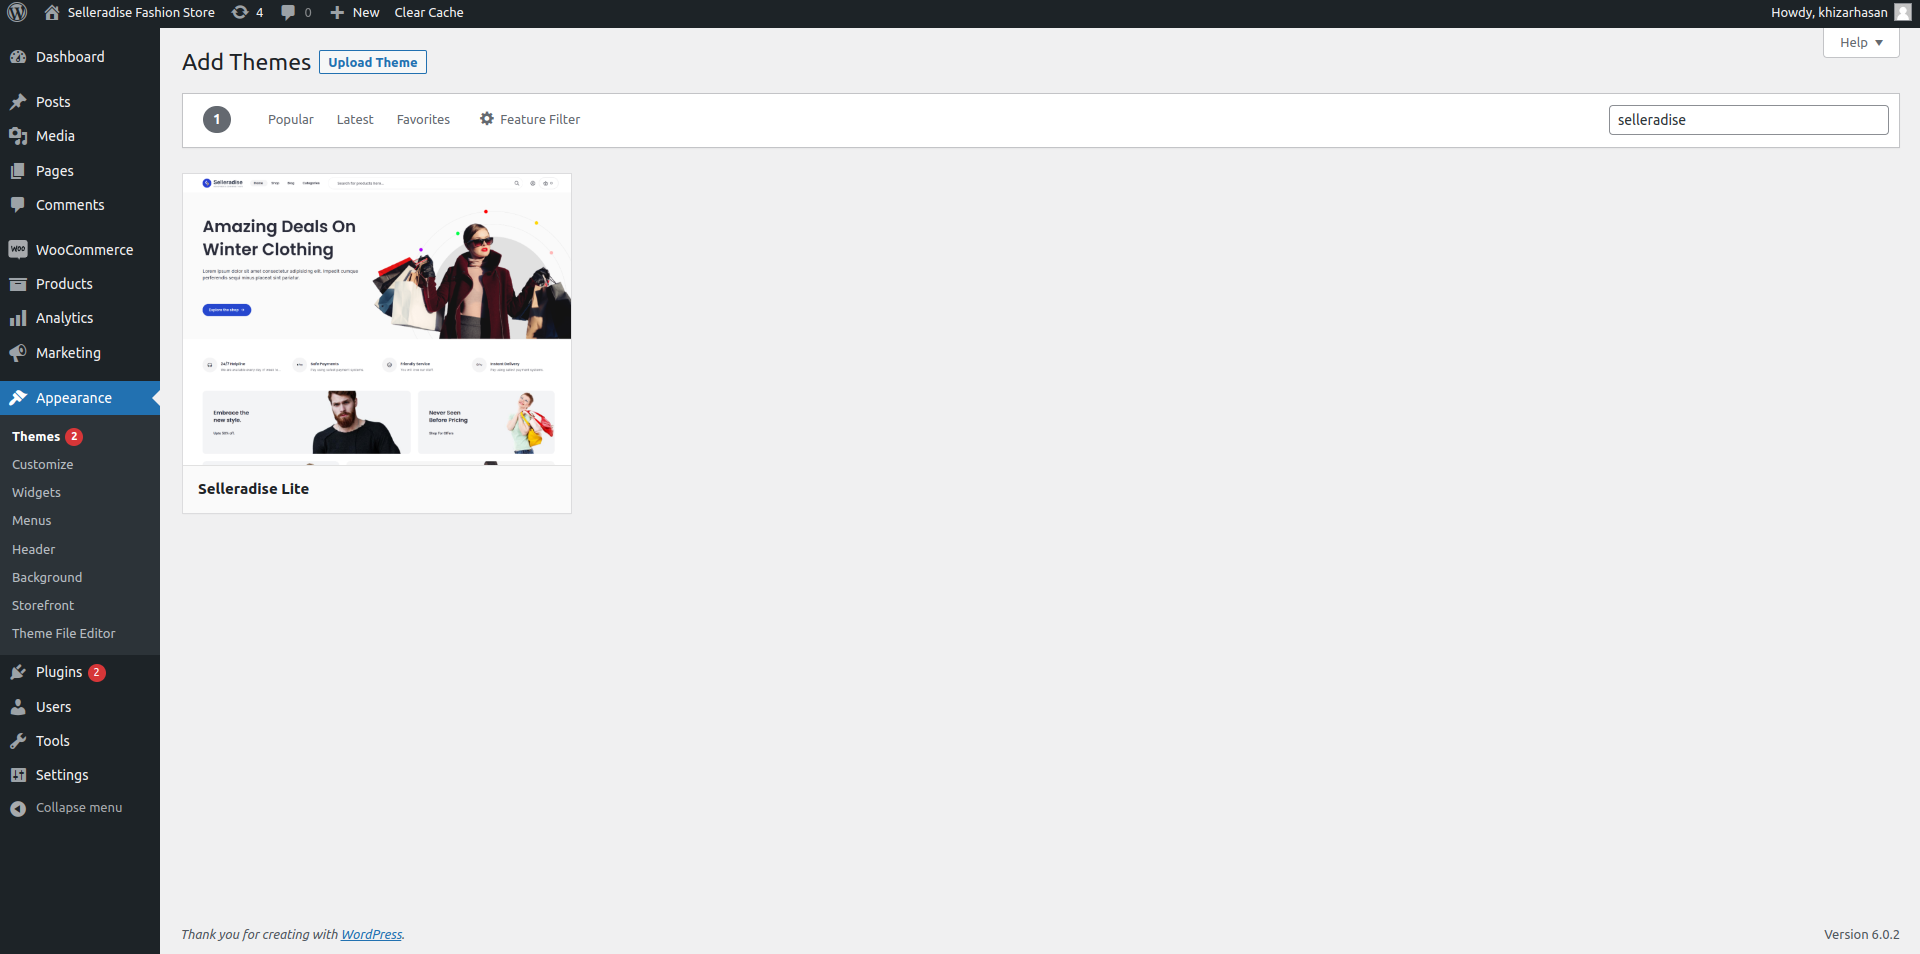
Once installed, click on Activate.
When activated, it will ask you to install plugins that it needs to provide a complete experience. We will do what it says. Click on Begin installing plugins.
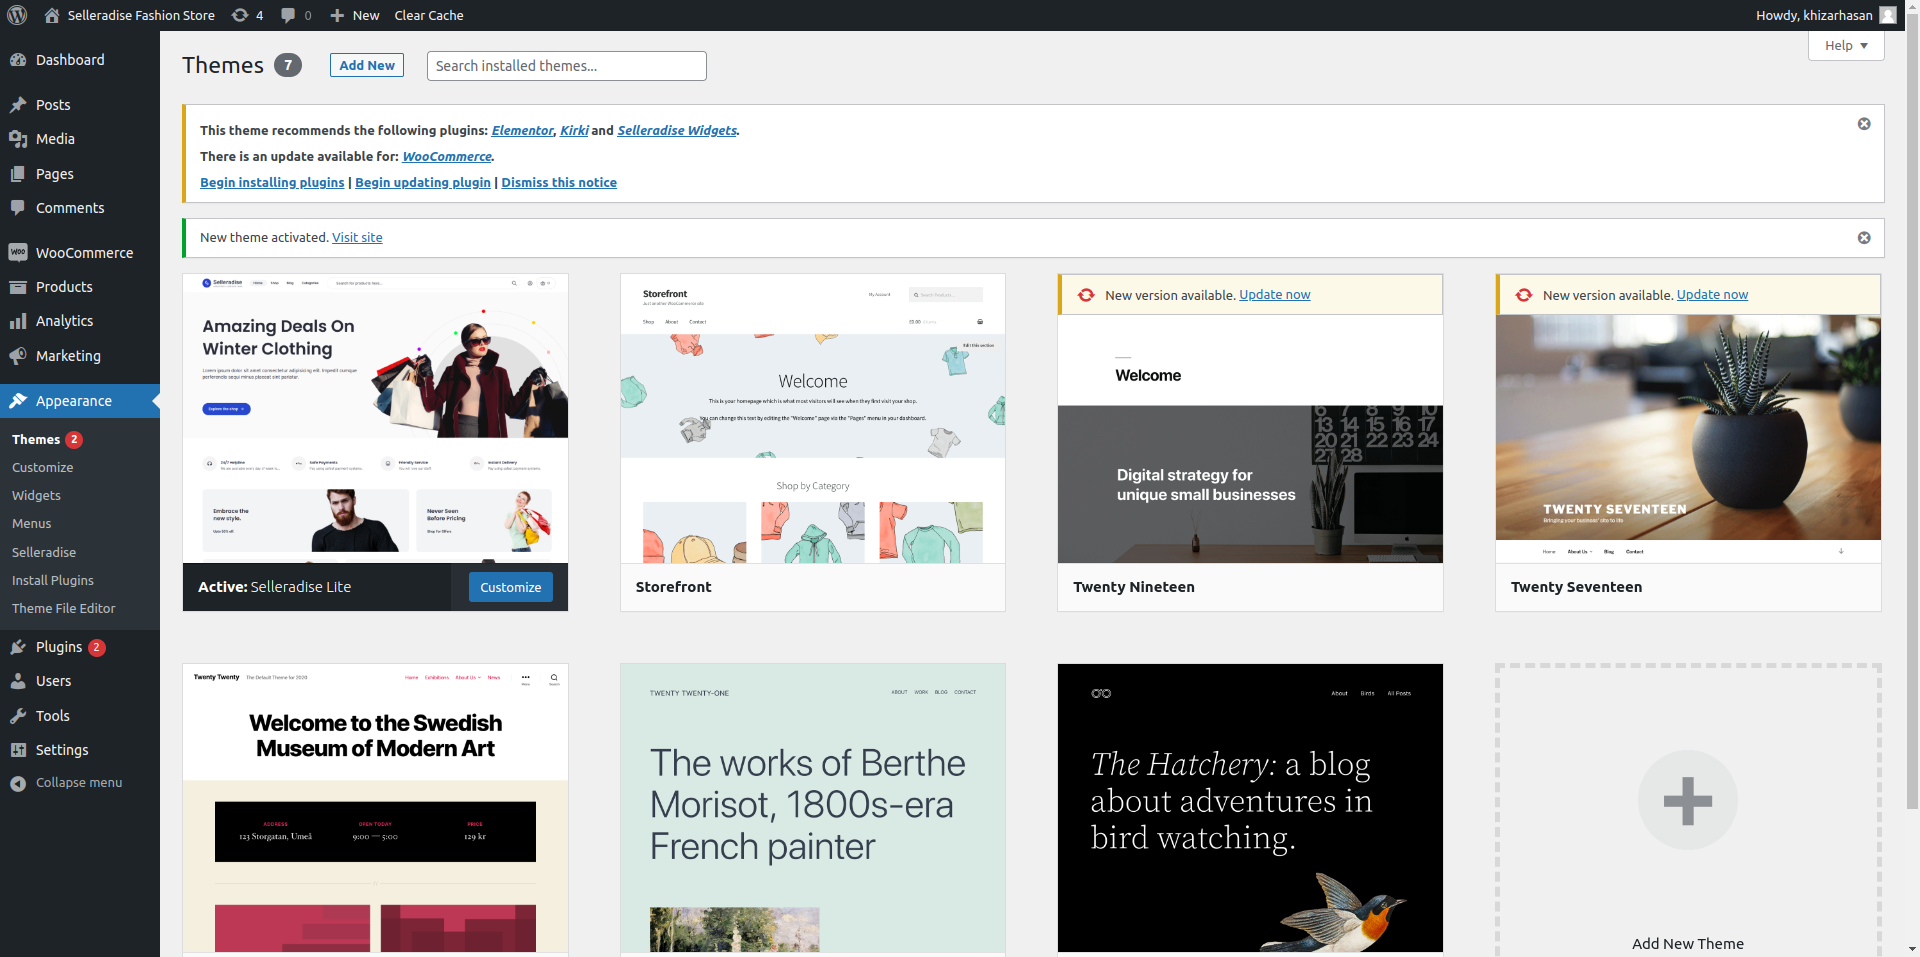
It should install the following plugins:-
- Elementor (this would be our page builder)
- Kirki (this would be used to provide customization options like colors, fonts, etc…)
- Selleradise Widget (this is provided by the Selleradise team. It contains custom-built Elementor widgets that we can use to build our pages)
We are done here. All you need to do is either add your products or import demo content provided by the theme. To learn more, follow the guide provided by Selleradise.